The Porsche 944 Clutch Hydraulics
November 15, 2011
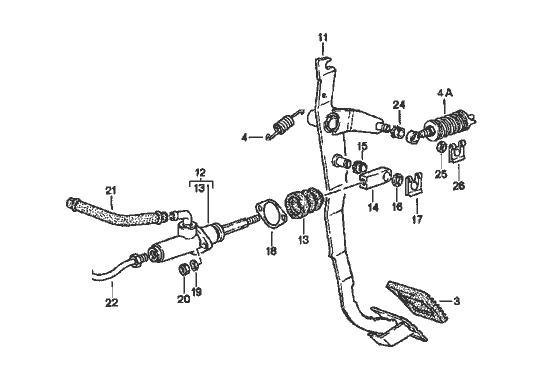
The Porsche 944 uses a hydraulic clutch system with the slave cylinder mounted right next to the starter and the master cylinder on the firewall. Follow the blue braided hose from the brake fluid reservoir and that will lead you to the clutch master.
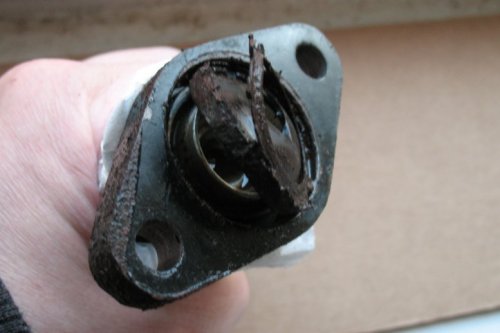
When I had to replace the cam tower on my car the slave cylinder failed. When the car sits without being driven (especially in cold weather) the seal on the slave cylinder fails. That's what happened to me
.
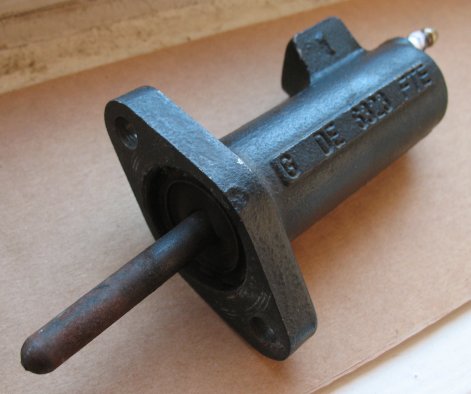
I replaced with a used slave cylinder. It is easy to replace. Remove the starter and the slave cylinder comes out with just two 13mm bolts and the fitting on the back (12mm).
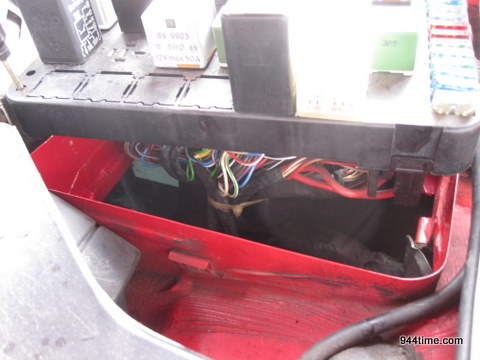
Easy access to the master cylinder clevis inside the car (at least on the 1986 944) is by first removing the fuse panel (unscrew two thumbscrews in corner and wiggle it out) and then removing a plastic shield right below it (two 9mm plastic nuts).
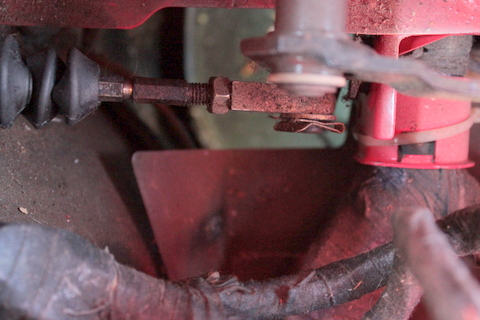
I felt under the rubber bellows and it was wet with brake fluid. Time for a new Clutch Master Cylinder.
You have to remove some bolts and move everything you can out of the way.
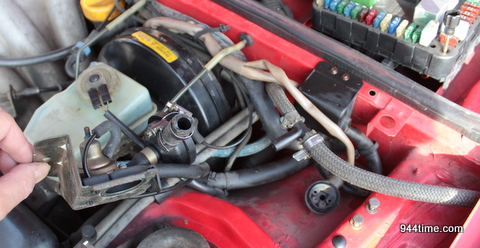
Not much clearance on those 13mm nuts.
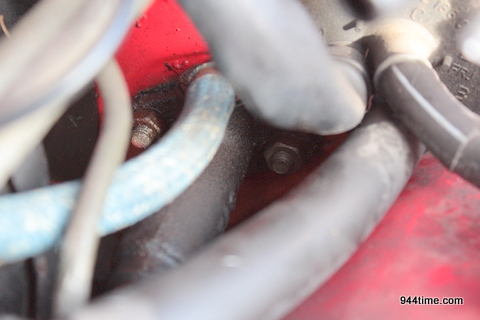
Not much clearance on the 12mm line fitting either!
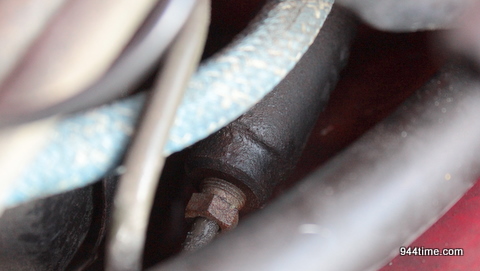
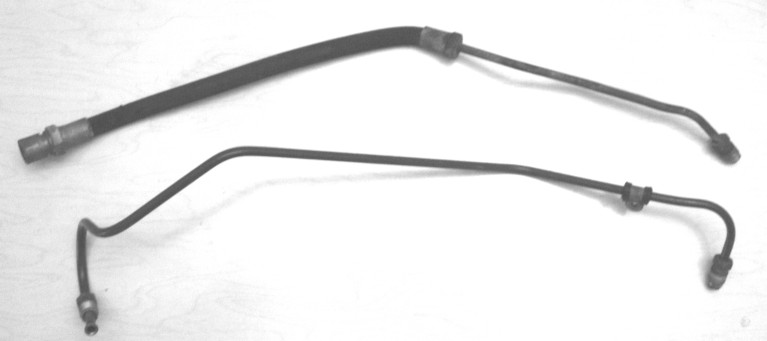
There is one hard line and one half-hard line. When replacing master and slave, most people also replace the half-hard line (top one in the photo below). The bottom line in the picture below goes from master cylinder (the bottom-left fitting in the photo below) across the top of the firewall and then takes a 90-degree turn.
The half-hard line connects to it (the top left fitting in the photo below) and goes down to the slave cylinder. The offical diagram I've seen of the clutch hydraulic system is incorrect, as it shows a half-hard line connected to the master cylinder.
November 20, 2011
The hard line is clamped to the firewall with an 8mm nut. Remove, and you can wiggle the line a little bit.
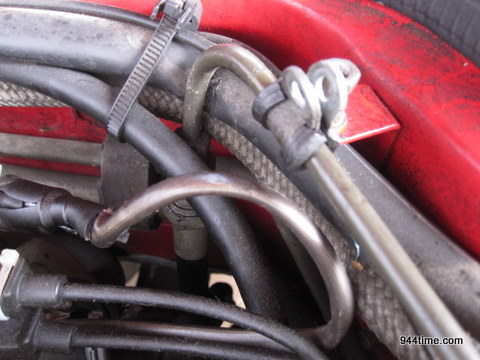
The master cylinder came out much easier then expected. After turning the hard line connection (12mm flare wrench), it was loose enough to hand-unscrew. I should have removed it completely at that point, because after I unbolted the master cylinder, it was no longer loose and I had to go in with the 12mm, turning it a few degrees each time.
The 13mm nuts holding on the master came off easy using a 3/8" socket (13mm), universal joint, and extension. I was able to stick one hand up there from the bottom and one hand from the top and get them with my long girlish fingers. If you have larger man-hands then you might not be able to do this.
There are also two spring washers behind the nuts. One of them fell onto the little ledge next to the steering shaft universal joint.
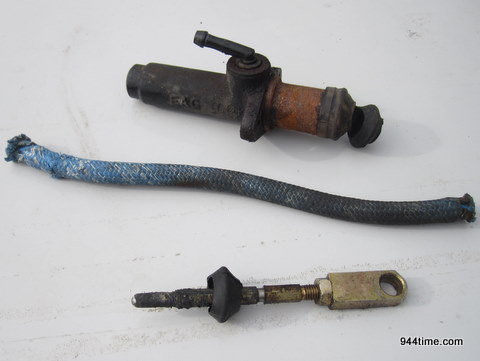
The blue hose is 11" long and about 1/2" in diameter (external). I removed the crimped hose clamps with an angle grinder.
November 24, 2011
I had ordered a replacement gasket and blue braided hose from Paragon Products three days ago. But something was 'backordered' and I didn't really want to wait for the parts to get here. So I cancelled the order.
I am going to have reuse the blue brake hose. It's used on lots of German cars. If you want to buy some, do a search for Blue Brake Line Braided (7x3mm).
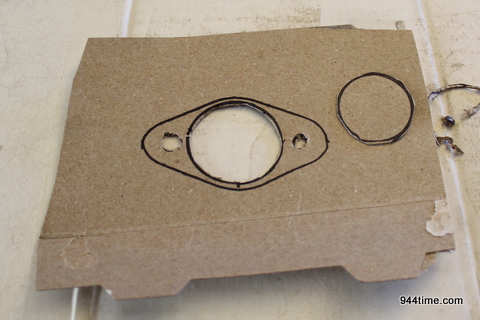
I made my own gasket from cereal box cardboard, the choice of gasket makers everywhere.
I bought the master cylinder from Advance Auto Parts. After a $30 off $100 coupon, it was about $70+tax. Brand is FTE.
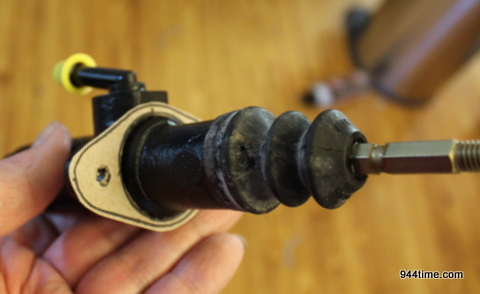
I think that gasket will work fine. It's not like it is sealing anything.
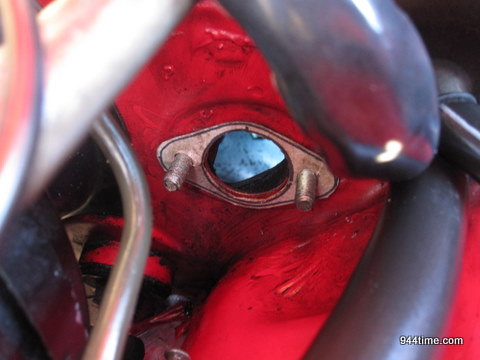
Reinstalling the master cylinder was easier then expected. I was able to get the washer and nut on the 'near' stud with my fingers. For the other stud (left hand side in the picture above), I glued the washer to a screwdriver-tip with a bit of grease and was able to stick it on the stud.
I stuck the nut in my (6-point) 13mm socket and that went on easy as well.
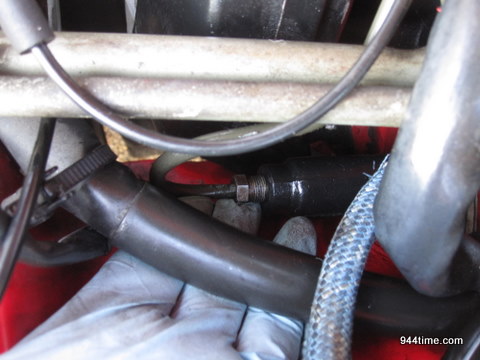
The hard line went almost all the way on turning it with my fingers. One hand below the wire bundle (pictured below) and the other hand on top.
The clevis had to be transferred over. The hex part of the shaft is 8mm, the nut is 13mm, and I used an 11mm wrench on the body of the clevis.
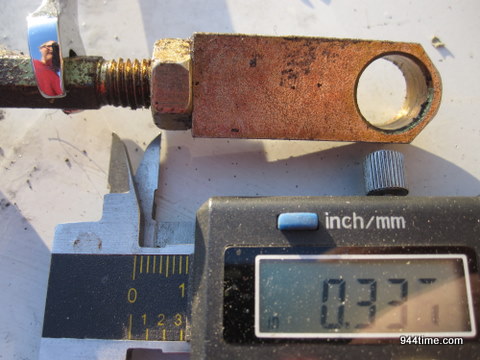
I still have to bleed the system and also reinstall the starter motor.
November 25, 2011
The first time I bled my Porsche 944 clutch system was a nightmare. It took me a few weeks of experimentation and frustration.
I've gotten better at it. This time, I used a pressure bleeder followed by some manual pumping. It is not perfect (clutch pedal engages right at the floor) but it is good enough for now. I've never had good luck just jacking up the front of the car. The rear of the car must be jacked up so it is higher then the front. I made special front wheel 'ramps' out of scrap wood to get the front up, then I put the rear on jack stands.
The hose on my pressure bleeder broke at the brake fluid reservoir end turning it into a brake fluid sprayer. Most of the brake fluid blasted onto the windshield. It was time for new wipers anyway.
